Wrist Hinge In Golf Swing:
The timing of your wrist hinge can affect the sequence of events needed to square the clubface, which greatly impacts the clubface’s angle. So, finding the right amount of wrist hinge is essential for a successful golf swing. Not only can it get your golf swing off plane early, but it also tends to close or shut the clubface which again requires you could try this out compensations to overcome for the rest of the golf swing. The other problem with this method is that because the wrist angle is set so early when you commence the downswing the tension has increased in your wrists due to a constant build-up. For a shallower club path, move the ball up in your stance (like you would when teeing up your drive).

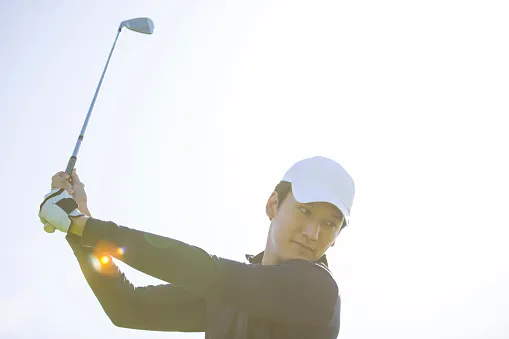
You should set or hinge your wrists the same percentage in relation to the completed stage of your backswing. Therefore, if you have completed 50% of your backswing your wrists should have hinged about 50%. A good checkpoint is when the left arm is parallel to the ground. The angle between left arm and shaft should ideally be ‘ (as demonstrated in the image above), an appropriate amount of wrist set to deliver some speed and power into the ball.
Cupped wrists look like the opposite and are instead visible through your hands arcing up towards the sky. You can easily learn proper flexion and extension, recommended ranges of Tour Pros, and get real-time audio feedback. Not to mention personalized drills to improve your fundamentals. The first mistake that you might make is setting the wrists too early in the golf swing. This means that they get their wrists bent and in place too soon after the beginning of the golf swing.
Sort of like a neutral golf grip, it makes it easier to improve swing plane and over all the entire swing is much more neutral. It’ll lead to less big misses and overall inconsistencies if not sequenced properly. This position is less than ideal unless you’ve got really great hand-eye coordination.
The first drill is hitting an impact bag, one of the oldest training aids in golf. The mistake is that some amateurs straighten out their wrists really early and that results in a slower swing speed. It can also lead to a cupping motion that leads to a lot of inconsistent shots. But if not, you’ll want to set them later to have more power with your golf shots.
Sometimes taking positions in your swing and moving them to other points on the swing arc can help you understand the movements needed to get to those spots. Many players are aware that they need to use their wrists in the swing, but few actually know how to do it. For a quick explainer on the subject, we enlisted the help of GOLF Top 100 Teacher Brian Manzella. Check out the video above, or read below, for more on how to properly use your wrists in the swing. Any semi-competent golfer knows that as a fact, but some elements that power the swing are not as well understood.
This release is crucial to generating power and controlling the clubface. The unhinging should start when your hands reach hip-height, click here for info and the club shaft is parallel to the ground. The release should be a smooth and natural motion, continuing until impact.
The wrists should then unleash that stored energy into a straight-line position post-impact to generate the right amount of pressure and a downward strike. The angles stored in the backswing have been released out in the downswing. The knuckles on the right hand move back towards the forearm, or outside of the elbow, so the palm is almost looking down at the ground. The two wrist actions are slightly different because of the formation of the grip, but they combine to create a lovely, powerful position in the backswing. If the angle is too acute from using the wrists too much, things normally get thrown out in the downswing.
Be patient in the transition as well, maintaining the hinge as long as possible before unleashing through impact. Golf gloves with hinges can also help establish the proper angle. The Wrist Hinge Drill is an excellent way to perfect early hinge timing. Golfers who take the club too much to the inside have too much rotation when they go back. Golfers that lift the club usually are more vertical when they are hinging up.
On shots that require a shallow angle of attack, use less wrist hinge on the backswing and finish your swing with more of a passive release. Unfortunately, a lot of golfers think about the grip, lead arm position, and clubhead speed above all else. But when you learn how to use the lead wrist and trail wrist correctly it’ll have a big impact on your ball striking. The movement in your wrists plays an incredibly important role for both the distance and direction of a golf shot. If you want a better golf swing, you need to understand how proper wrist hinge and wrist positions work together. To achieve proper wrist hinge you might need the help of a training aid for some extra assistance.
If you can just remember on your backswing that your first move is that your right wrist works back. If you look at the face on view my right wrists is hinging backwards and when I do that it allows the club to swing on plane every time as I go back. As you move into the downswing, your wrists should begin to unhinge or ‘release’ gradually.
Take a look below to see why (and how) to determine whether you should be shallow or steep on a certain shot. A simple exercise to strengthen your wrists, is by holding a short iron with try what he says the club head pointed to the ground. Now, keep your arm still and raise the club head as high using your wrist. Gradually move the blub head back down and repeat this a few times.